
Jira
Connect Clearly AI to Jira.
Connect Jira so Clearly AI can read issue data and attachments, create or update Jira issues, add comments, and receive Jira events for Workflows.
Clearly AI acts as the Jira user whose credentials you configure. For example, if the API token belongs to alex@example.com, comments created by Clearly AI appear as Alex.
Prerequisites
- A Clearly AI account with access to Integrations.
- A Jira Cloud site, such as
https://mycompany.atlassian.net. - Permission to create a Jira API token.
- A Jira account with access to the projects and issues Clearly AI should use.
For shared or production use, ask your IT team to create a dedicated Jira service account, such as Clearly AI bot, and generate the API token from that account. This keeps Clearly AI activity separate from individual employee accounts.
Make the Jira account email visible
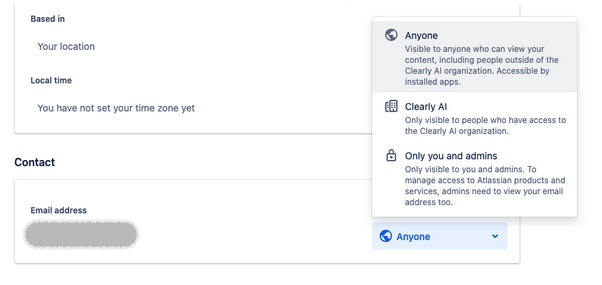
Jira webhook handling requires the email address for the credential owner to be visible. In Atlassian account settings, open Profile and visibility and set the account email visibility to Anyone.
Create the Jira API token
- Open Atlassian account security.
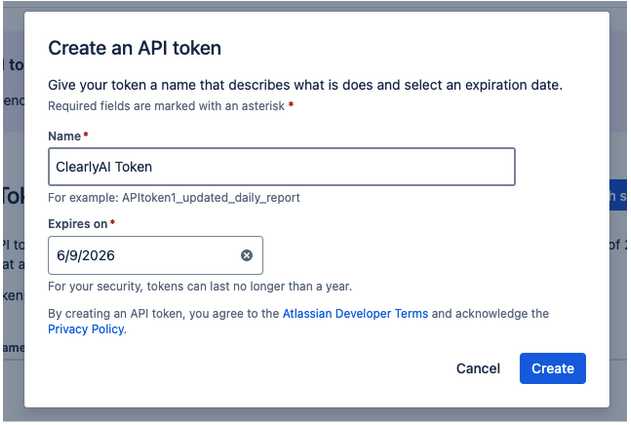
- Under API tokens, click Create and manage API tokens.
- Create an API token with the scopes below.
- Set an expiry that matches your security policy. Atlassian tokens can expire no later than one year after creation.
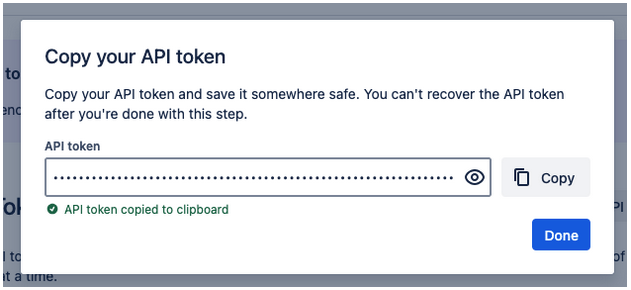
- Copy the token. You will paste it into Clearly AI in the next step.
Use these scopes:
| Scope | Purpose |
|---|---|
read:me | Identify the authenticated user |
read:account | Read account details |
read:jira-work | Read issues, boards, and sprints |
read:jira-user | Read Jira user profiles |
read:field:jira | Read custom and system fields |
read:issue-details:jira | Read issue details |
read:jql:jira | Execute JQL searches |
read:attachment:jira | Read issue attachments |
read:issue-type:jira | Read issue types |
read:project:jira | Read project metadata |
read:user:jira | Read user information |
read:status:jira | Read the statuses available for a project's workflows |
read:workflow:jira | Read the statuses defined on a project's workflows |
read:priority:jira | Read site priorities for ticket sync severity mapping |
write:issue:jira | Create and update issues |
write:comment:jira | Add and edit comments |
write:attachment:jira | Upload attachments |
write:jira-work | Update issues, boards, and sprints |
Include every scope in this table when you create a granular API token. The classic
read:jira-work and write:jira-work scopes already cover the granular ones, so an OAuth
connection needs no extra setup. A granular token that omits read:priority:jira,
read:status:jira, or read:workflow:jira connects successfully but fails ticket sync with a
scope error.
Connect Jira in Clearly AI
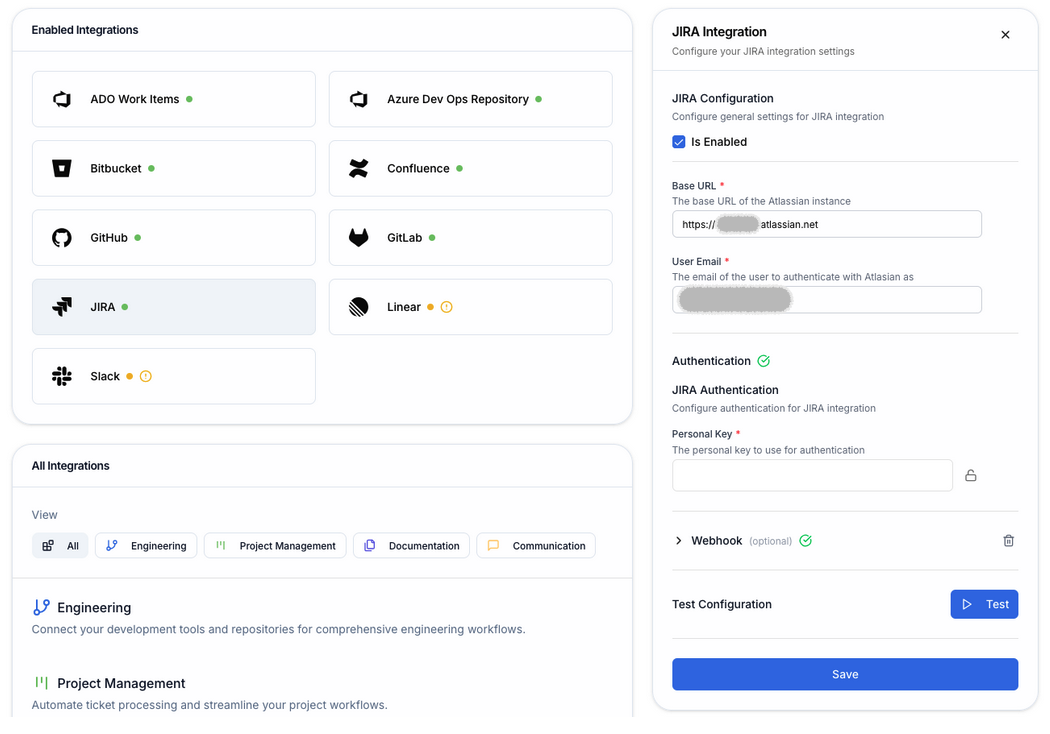
- In Clearly AI, open Integrations and select Jira.
- In Base URL, enter your Jira site URL, such as
https://mycompany.atlassian.net. - In User Email, enter the email address for the Jira account that owns the API token.
- In Personal Key, paste the API token.
- Save the configuration.
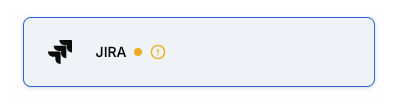
After saving, the Jira card may show an orange status indicator until the connection is tested.
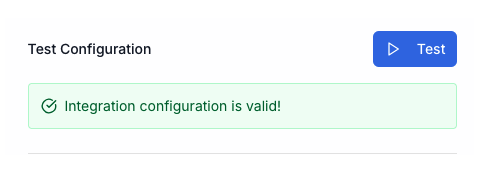
Click Test. A successful test confirms Clearly AI can authenticate with Jira. If the test fails, the result should identify missing scopes, invalid credentials, or access problems.
Configure Jira webhooks for Workflows
Configure a webhook if you want Jira events, such as issue updates or label changes, to trigger Clearly AI Workflows.
Generate the Clearly AI webhook secret
- In the Clearly AI Jira integration settings, expand the Webhook section.
- Click Generate secret.
- Copy the generated secret and store it temporarily.
- Click Save.
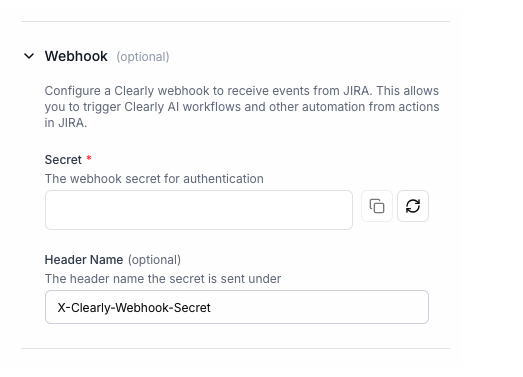
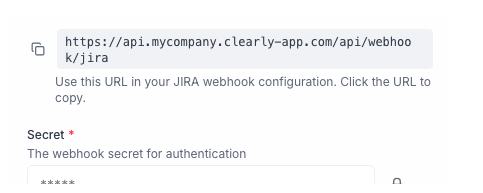
After saving, Clearly AI shows the Webhook URL. Copy it. You will use both the webhook URL and secret in Jira automation.
Create a Jira automation rule
In Jira, open Project settings > Automation > Create rule > Create from scratch.
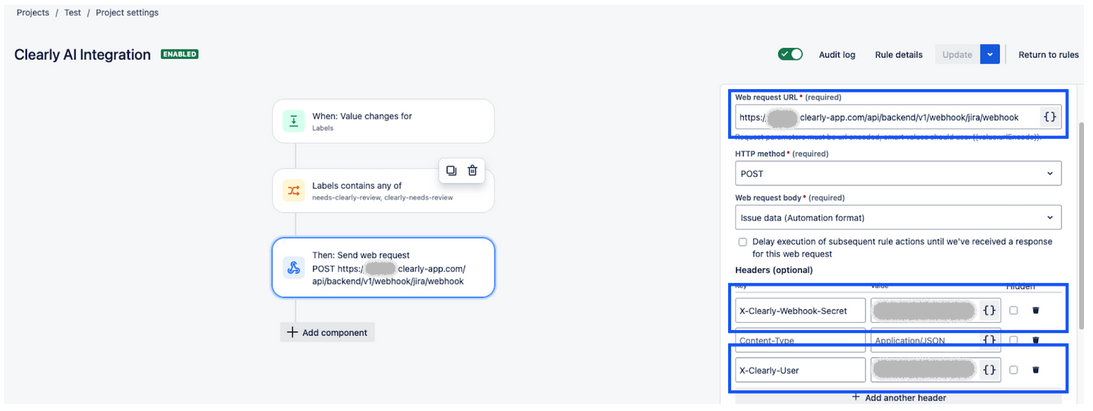
Use Jira Automation, not Jira Webhooks. The example below sends an event to Clearly AI when selected labels are added or changed.
- Add a trigger:
- Select Field value changed.
- Set the field to Labels.
- Set the change type to Any changes to the field value.
- Add a condition:
- Select Work item fields condition.
- Set the field to Labels.
- Set the condition to contains any of.
- Choose the label values that should trigger Clearly AI, such as
clearly-needs-review.
- Add an action:
- Select Send web request.
- Set Web Request URL to the Clearly AI Webhook URL.
- Set HTTP Method to POST.
- Set Web Request Body to Issue Data (Automation format).
- Add the headers below.
- Enable Check to allow other rule actions to trigger this rule if another automation may add the trigger label.
| Header | Value |
|---|---|
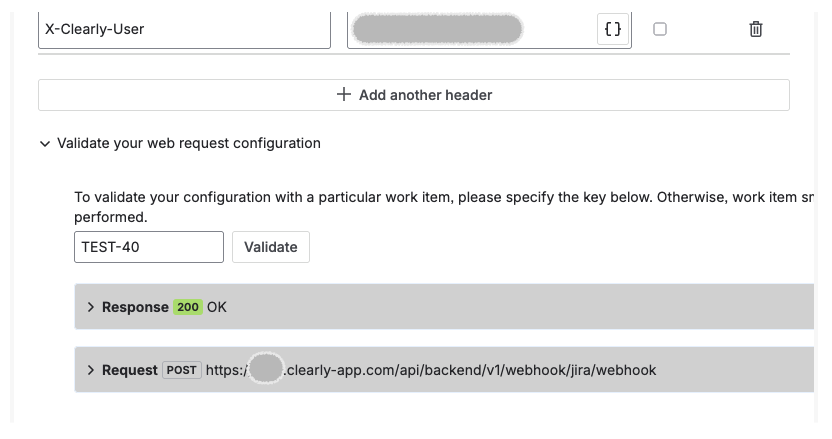
X-Clearly-Webhook-Secret | The Webhook Secret from Clearly AI |
X-Clearly-User | The Clearly AI user email to use when Jira cannot resolve a valid user from the event |
Validate the webhook
Return to the Jira integration in Clearly AI and use Validate your request configuration. A correct setup returns 200 OK. After validation succeeds, Jira events that match your automation rule can trigger Clearly AI Workflows.